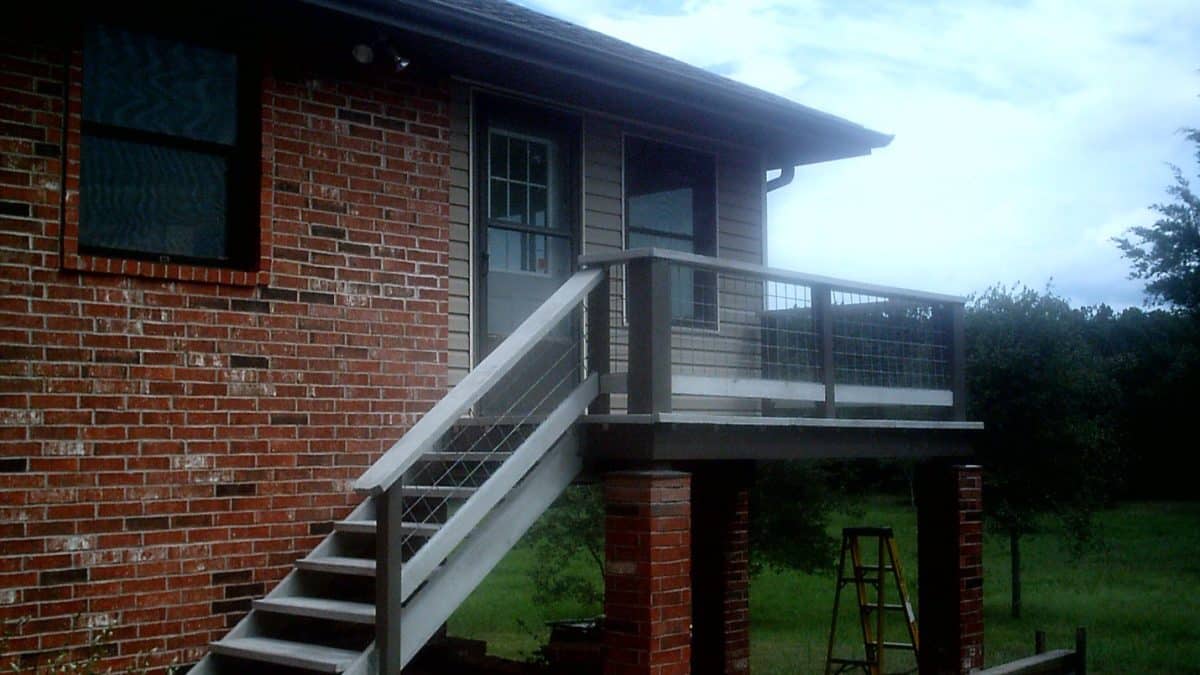
An 18 year old treated timber deck had suffered significant sun and rain damage to all the horizontal surfaces and the header had cracked along a knot near mid-span, effectively leaving the equivalent of a 2 x 4 supporting the joists. The joists and columns were still structurally sound. It was decided to replace the header and end joists with new treated lumber, clad all the exposed wood with aluminum trimcoil and use LumberCon for the horizontal surfaces. This project was performed by a 71 year old man working alone.
Temporary bracing was installed so the header and end joists could be removed in addition to the stairs and railings. An important aspect of this structure is that the brick surrounding the corner columns is purely cosmetic, offering no structural support. The wood columns are essentially 12 foot long flagpoles. The implication of this is discussed later.


The exposed segments of the wood columns were clad with trimcoil. To protect the aluminum from potential corrosion from the treated lumber, house wrap was used as a barrier between the two.
A new clad header was installed.


The temporarily supported joists were attached to the header and the temporary bracing removed.
New clad end joists were installed and pieces of aluminum angle were attached to anchor the LumberCon from below, so fasteners are hidden. Blocks were installed to support the ends of the LumberCon planks. A “picture-frame” edge plank will cover the plank ends.


The first piece of LumberCon is ready to be placed. It required ripping a slight taper along the house side and a cut out at each end to fit around a post and brickwork. Old decking was used to support the planks during cutting. When making a crosscut, it is helpful to firmly affix a piece of wood against the edge where the sawblade exits the cut. That reduces tear out along the free face. It is usually best to make cuts with the woodgrain side down. A diamond blade in a reciprocating saw works well for finishing off a square notch around posts or other obstacles.
The planks were moved from the cutting area to the deck using a wood “tray” (made from the old decking) attached to forks on a tractor’s loader bucket.


Once in position the planks were slid from the tray onto the deck, positioned and anchored.
All planks are in position and anchored. The perimeter will be picture-framed with LumberCon ripped to 2 x 4 sizes.


A closer view of the planks in place.
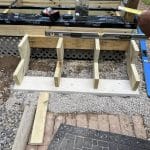
Stair stringers were set on a level piece of LumberCon 2 x 12 on a bed of well compacted gravel containing buried cinder blocks for solid support. Stair treads will be placed between the stringers, eliminating the “bird’s mouth” cuts, thereby utilizing the full strength of the plank in an inclined joist orientation. Since LumberCon is considerably heavier than wood, the staircase will impose a significant lateral force against the end joist; the wood columns offer little lateral resistance. It is advisable to provide some lateral bracing to the framework of joists.


The top end of stringers was secured to the end joist using Simpson Strong Tie joist hangers. Simpson makes hangers for rough 2” lumber, which provides a reasonably close fit for the 1.875” thick planks. Although gravity should keep the stringer in the hanger, a single Tapcon hex head anchor was installed to pin the member in position. Other pre-drilled holes in the hangers were considered too close to an edge or to the prestressing strands to install more anchors. Faint blue chalk lines on the 2x8 depict the location of the prestress strands. Faint horizontal lines (slightly above and below the hanger seat) depict the top and bottom of the uppermost tread position. The tread was cut so it fit snug against the hangers.
Stringer bottom ends were secured to the base plank using aluminum clips. The top surface of one buried cinder block is visible to the right of the base plank.


Ripping 2 x 8’s into 2 x 4’s. A box fan was used to disburse dust away from the immediate work area. A dust mask is necessary for all cuts. After each cut the saw amateur vents were blown out with compressed as the dust is highly abrasive.
Stockpiled 2 x 4’s. Some of the planks had a slight to moderate bow. Such planks were selected for use where the distortion would be least noticeable or objectionable.


Top view of a 2 x 4 rim board (picture frame) joint; the sharp ends were clipped, as the sharp corners are prone to breakage and present a safety hazard.
Rim boards and top rails secured in place.


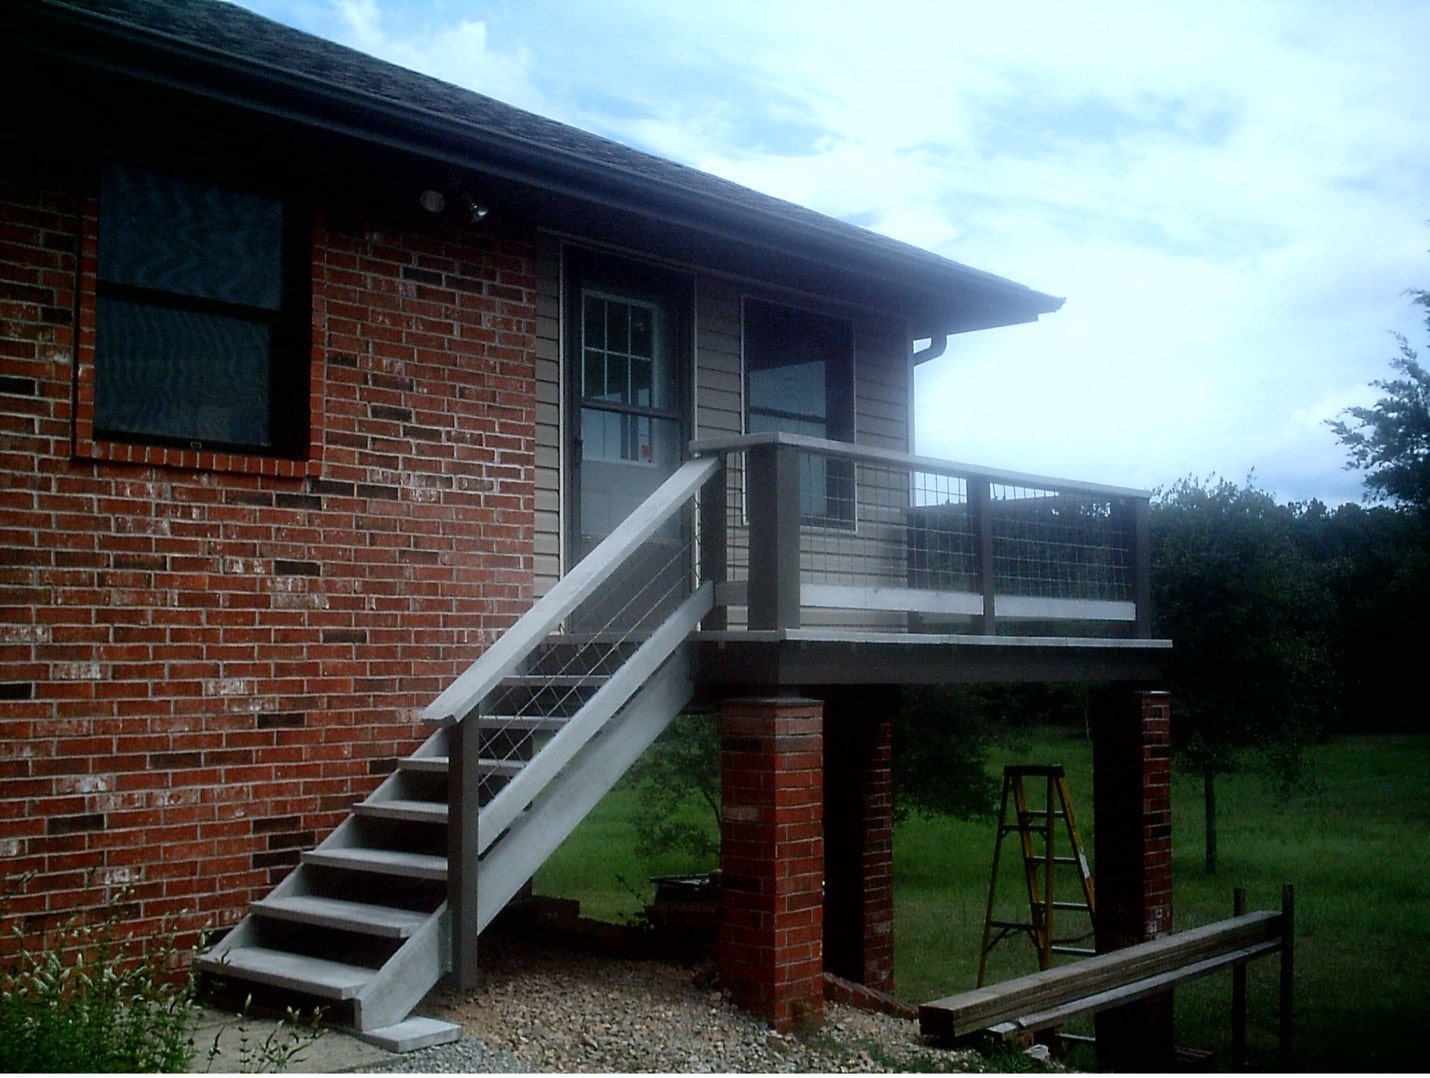
Bottom rails were secured and galvanized steel stock panels with 4” square openings were used to fill the space between the rails. The stock panels are available through farm and ranch suppliers. They come in 16’ lengths and widths of at least 4’. They were set into 3/8” wide (inside dimension) by ½” deep aluminum channels secured to the top & bottom rails.
Project summary:
There is a learning curve when it comes to working with Lumbercon. Perhaps the most important factors are to be absolutely certain of measurements before making a cut and figure out in advance how connections should be made. Any measurement error can be very costly and you can’t simply go to the nearest building supply retailer to get another piece. Given the initial material cost, ordering much extra is not practical, and any excess can’t be returned. Since only one face has the wood grain texture, there are instances when a decision must be made regarding the more aesthetically pleasing orientation for stair case stringers and bottom rails. This homeowner, who is also the builder, is well pleased with the final product and believes Lumbercon was the most suitable choice of materials for this project. It will outlast his lifetime and that of the next owner.
